This year I did 5 dozen ears. Sounds like a lot but when you have to go through the Fall, Winter, Spring, plus some of Summer before the corn comes up for sale again...5 dozen doesn't sound like much. We still have to ration it toward the end, but I don't have the freezer space to make much more. I threw around the idea of canning it this year but the more I read on it, the more I found people saying you don't get the flavor you get from freezing it. So here we go...
Shuck your corn. This is the absolute worst part if you don't have a helper. I hate it.

I hate it so much I went and got a beer to help me. Shameless plug for the lover's company on my coozie...

OK, the corn is shucked....if you didn't notice it's dark out now. Told you it sucks to shuck 5 dozen ears by yourself! Doesn't help that I am a little OCD about getting the little hairs off the cobs because I hate when they get in my teeth.

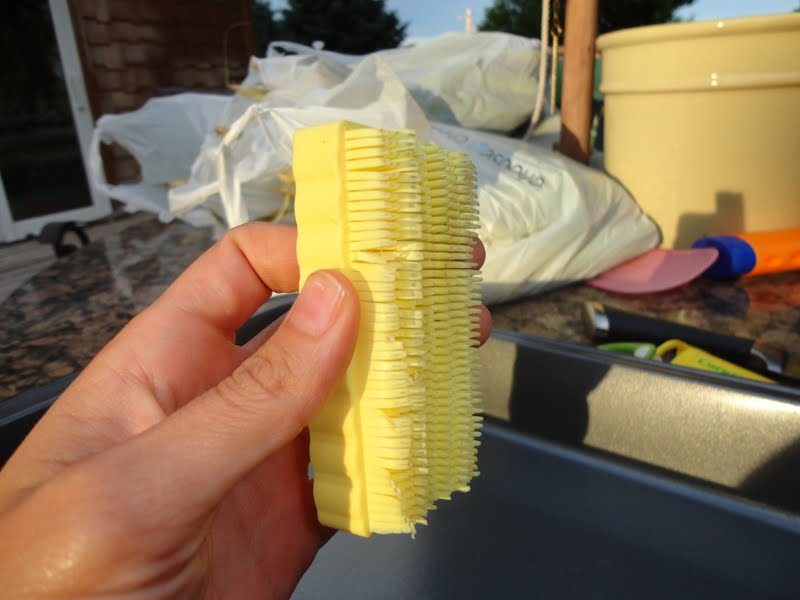
Now is a good time to show you all the nifty devices that I have bought over the last couple years to help me with the part that's next: cutting the corn off the cobs. This one was the first one I found in some little kitchen shop in a strip mall with my mom, thought it would be worth a try....it wasn't. Totally useless, which I would have known if I have my brain that day. This thing would only take off 2 rows of corn at a time even if it did work without feeling like it was taking my fingers off....maybe if I wasn't doing 60 ears of corn at a time that might be ok.

This one was the second try...bigger cutting area AND is shaped to the roundness of the corn...has to be better, right? Wrong. Serious design flaw and almost cut my arm right down my wrist pulling it down the corn. Suicide by corn cob cutting, anyone? Not the way I want to go out....

I finally gave up on buying these gadgets and have discovered that once I actually bought a set of good knives, the bread knife in the set works amazingly well. Not much effort, just cut to the cob and go. So this is what we use now. Whew, that was rough.

Candy (Justin's mom) used to use an electric knife, he said that worked pretty slick but I never wanted to go out and buy one. Maybe next year?
I mentioned my OCD with the silky hair in the corn after shucking it. This was my miracle product when I found it in the store...I was so excited that someone made something to cure my problem, and even more pumped that the time doing this would be cut in half since I wouldn't have to be picking each hair out by it's lonesome.
It didn't work. Well, technically it did at first. But when you're doing the volume I do, the hairs just get wrapped up in the bristles and make the bristles not work after a few ears. So in the end, what I've learned is....don't buy stupid shit from kitchen stores unless you know it's going to work. Read up on it first!
OK, now that we've got all that taken care of...we cut the corn off the cobs and into a roaster pan. Justin came home just in time to help with that part! Notice I needed a couple more beers after the shucking part...don't judge the greasy hair, it was hot on my run that night!


After your roasting pan is full, transfer to the stock pot and continue to cut....

Once all your corn is cobbed (is that what you call it?), put it on the lowest setting burner you have on your stove and add 1/4 gallon skim milk, and 4 cups light butter. Let simmer for an hour or so (lid on), stirring very frequently making sure to move around the corn on the bottom to prevent burning.
The original recipe calls for half and half instead of skim milk, but I wanted to lighten the calorie content up a little and skim works just fine taste and consistency wise. Candy also roasts hers, but I didn't have a roaster pan big enough so doing it in the stock pot has worked well for me.
After corn is cooked (yes, you can taste it now, go ahead), you bag it up. I get freezer bags which I fill with 1 and 1/2 cups of the corn plus liquid, remove all air from the bags before sealing, and stack in the freezer. That seems to be the perfect portion for Justin and I for one night's dinner, so I can just lay one bag out for us, and if we have company, lay extra out as needed.
Throw them in the freezer and enjoy all year long! It's a lot of work but soooooo worth having sweet corn year round. I wouldn't lie to you. And neither would anyone that's eaten it at our house for Christmas or a random February dinner.


Good post. How many beers did it take?
ReplyDeleteAnn
Good question! This is why I do this on a Friday night, so I have no bedtime :) I probably had 4 beers through out the whole 3 hour process...
ReplyDeleteTry an electric knife, it works great! We freeze around 250 ears each year and this cuts down the time!
ReplyDeleteFunny you say that, I just did our corn this weekend and my soon to be mother in law gave me an electric knife for Christmas that we used for it. It worked great!!
DeleteI've been looking for this recipe for years, thank you for sharing!!
ReplyDeleteDo u let it cool to room temperature before freezing?
ReplyDelete